

Home & Property · Calgary Window Replacement
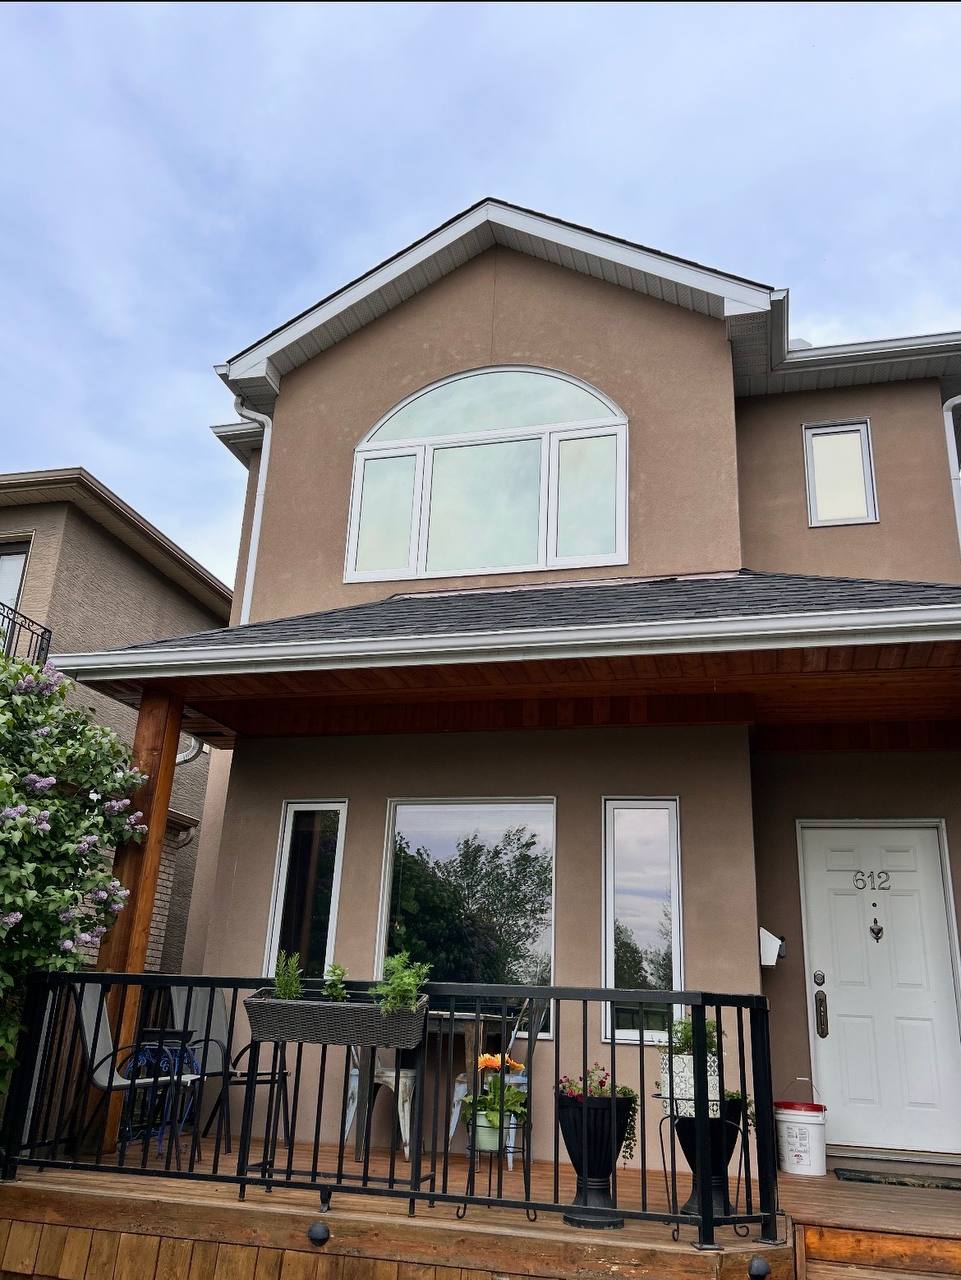
When a Calgary homeowner called High End Construction about a drafty arched window, nobody expected to find this level of damage. Once the window came out, years of hidden water infiltration were finally visible — and the structural framing behind the stucco had been quietly disintegrating the whole time.
This is the full story of what was found, how it was fixed, and what Calgary stucco homeowners should be watching for before a small problem becomes a very expensive one.
What Was Hiding Behind the Window
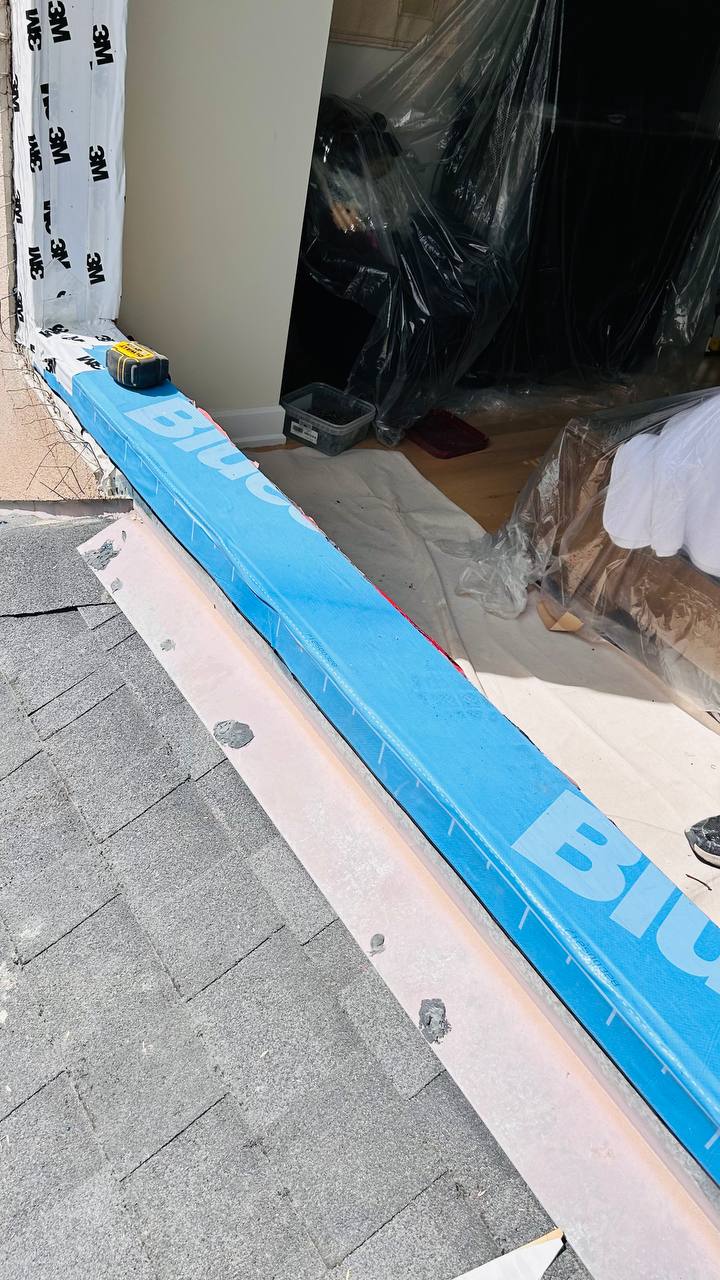
When the original window was pulled from the rough opening, the crew found 2×6 framing that had decomposed to the point of crumbling. The king studs, jack studs, and sill plate were saturated with moisture, blackened with mould, and offered zero structural integrity. The window had effectively been sitting on sawdust.
This is one of the most common failure patterns in Calgary’s stucco-clad homes: water infiltrates through a failed window seal, saturates the wood framing, and destroys it from the inside out — completely invisible from the street until it’s a major structural problem.
The Six-Step Repair
Step 1
Remove the Old Window and All Rotted Framing
The window was carefully extracted and every piece of compromised lumber — king studs, jack studs, sill plate — was cut out and removed. Partial rot removal only delays the same failure.
Step 2
New Structural 2×6 Framing Installed
All structural members were replaced with new 2×6 lumber, properly nailed and sized to the original rough opening dimensions. Everything was checked plumb and square before moving forward.
Step 3
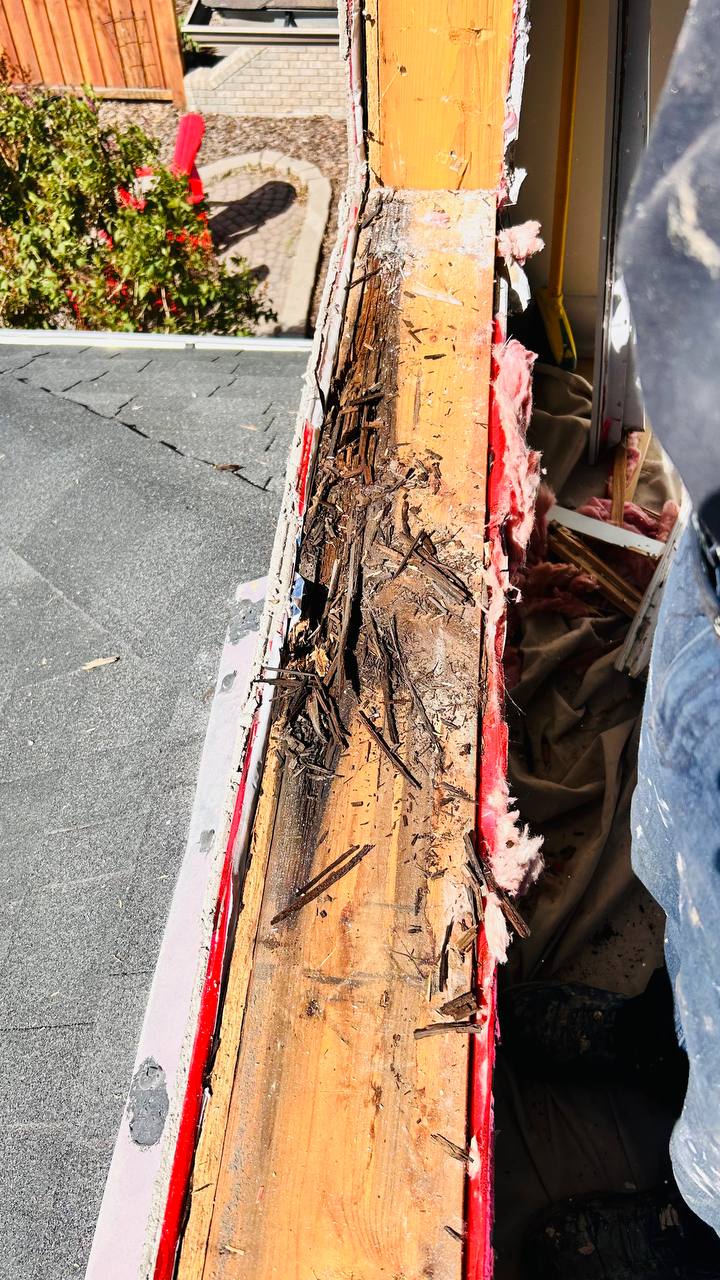
Waterproof Sill Pan Membrane
A continuous waterproof sill pan membrane was installed across the bottom of the rough opening and lapped up both sides — the first line of defence against any future moisture intrusion.
Step 4
3M Flashing Tape on Both Sides
3M All Weather Flashing Tape was applied to both sides of the rough opening, overlapping the membrane and creating a fully sealed moisture barrier around the entire window perimeter.
Step 5
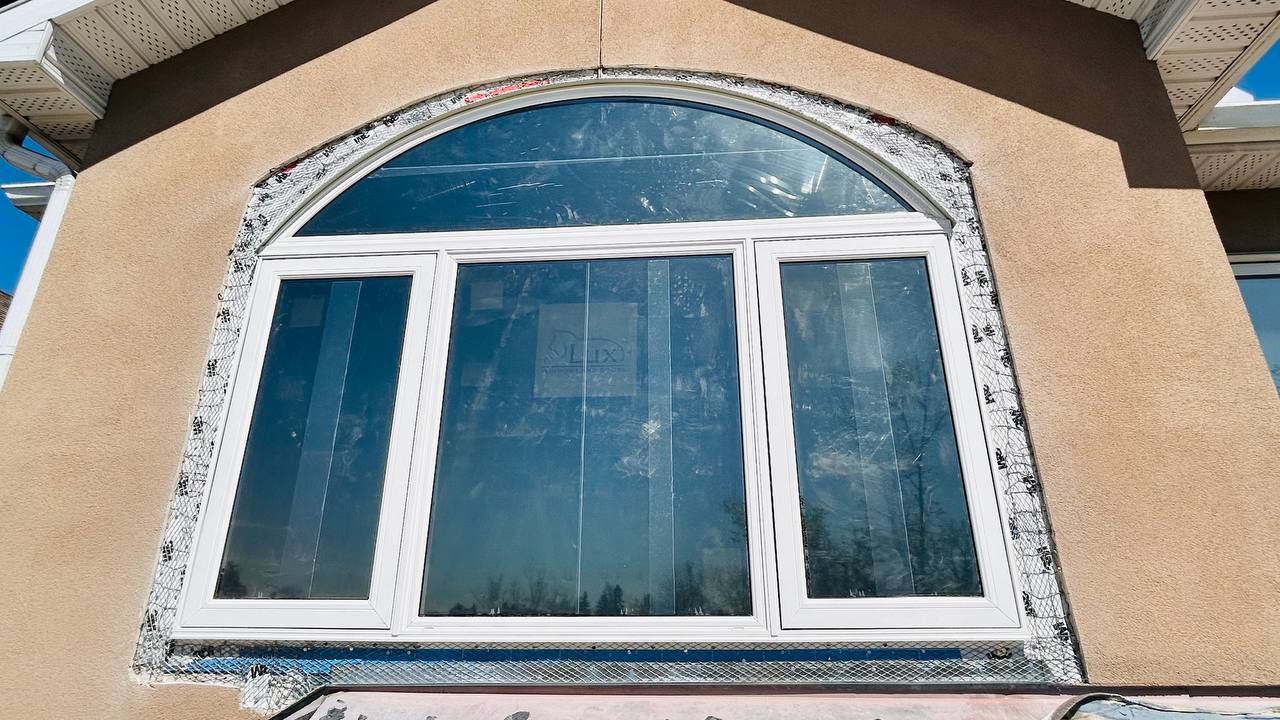
New Arched Window Set and Sealed
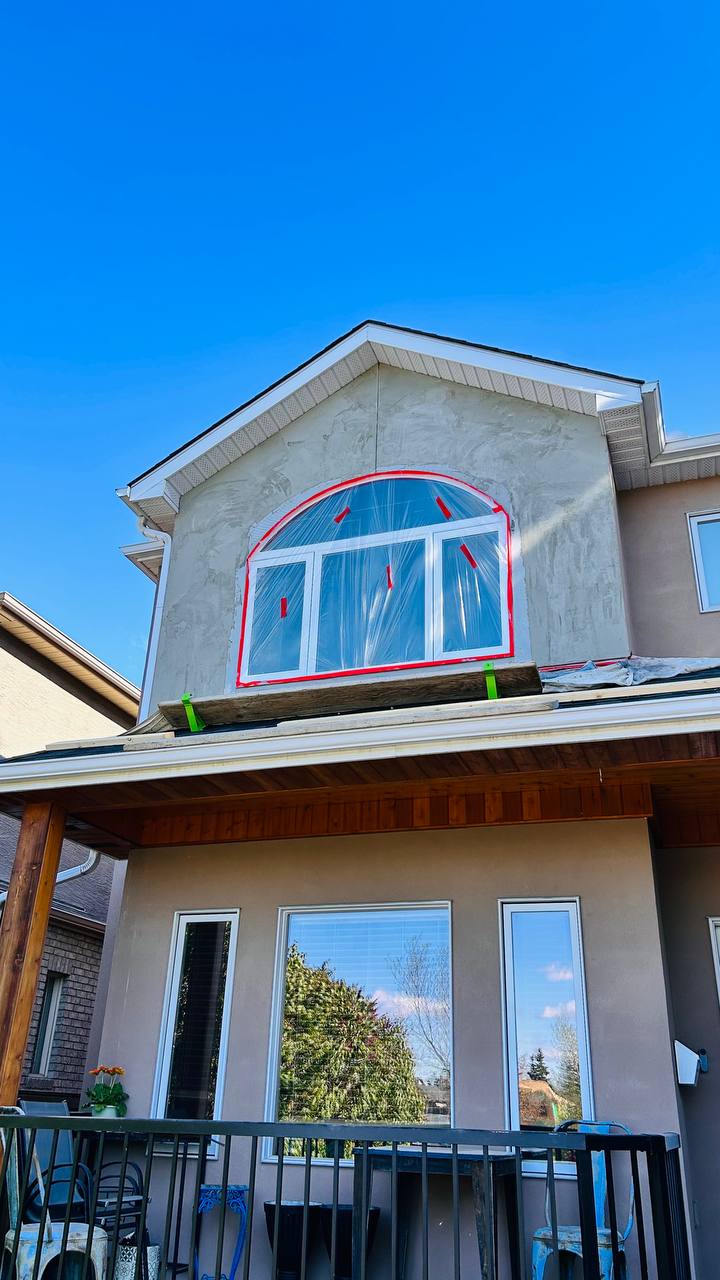
The replacement window was shimmed level and plumb, fastened through the nailing flange, and sealed on all four sides with exterior-grade caulking. No gaps, no compromises.
Step 6
Stucco Repair — Scratch Coat and Finish Coat
Wire lath was installed around the window perimeter, a scratch coat applied and cured, and a finish stucco coat textured and painted to blend seamlessly with the surrounding exterior.
What Calgary Stucco Homeowners Should Know
Calgary’s freeze-thaw cycles are hard on exterior seals. Caulking that was good 10 years ago may be cracked today — and if water is finding its way to wood framing, the damage is already happening. Replacing a window and repairing framing costs a fraction of what full exterior wall remediation runs once damage reaches insulation, OSB sheathing, or interior drywall.
If your home has stucco cladding and windows over 10 years old, watch for: condensation between panes, interior drywall staining near windows, a soft or spongy feel around the window frame, or stucco cracking at window corners. Any of those warrants an inspection.
See the full project breakdown — including materials, process photos, and scope details — at highendconstruction.ca/window-replacement-rotted-framing-repair-calgary/.
High End Construction Ltd. — Calgary Window & Exterior Specialists
Calgary Healing Hands Wellness
Construction work takes a toll on your body. Calgary Healing Hands Wellness offers registered massage therapy, relaxation treatments, and holistic wellness services to help you recover and feel your best.